
Level 1 sweep and inspection to the NFPA 211 annual standard - flue, crown, cap, and flashing checked and photographed
Chimney sweep logs do not sweep chimneys. They loosen some creosote - which then falls where a brush and vacuum still have to collect it.
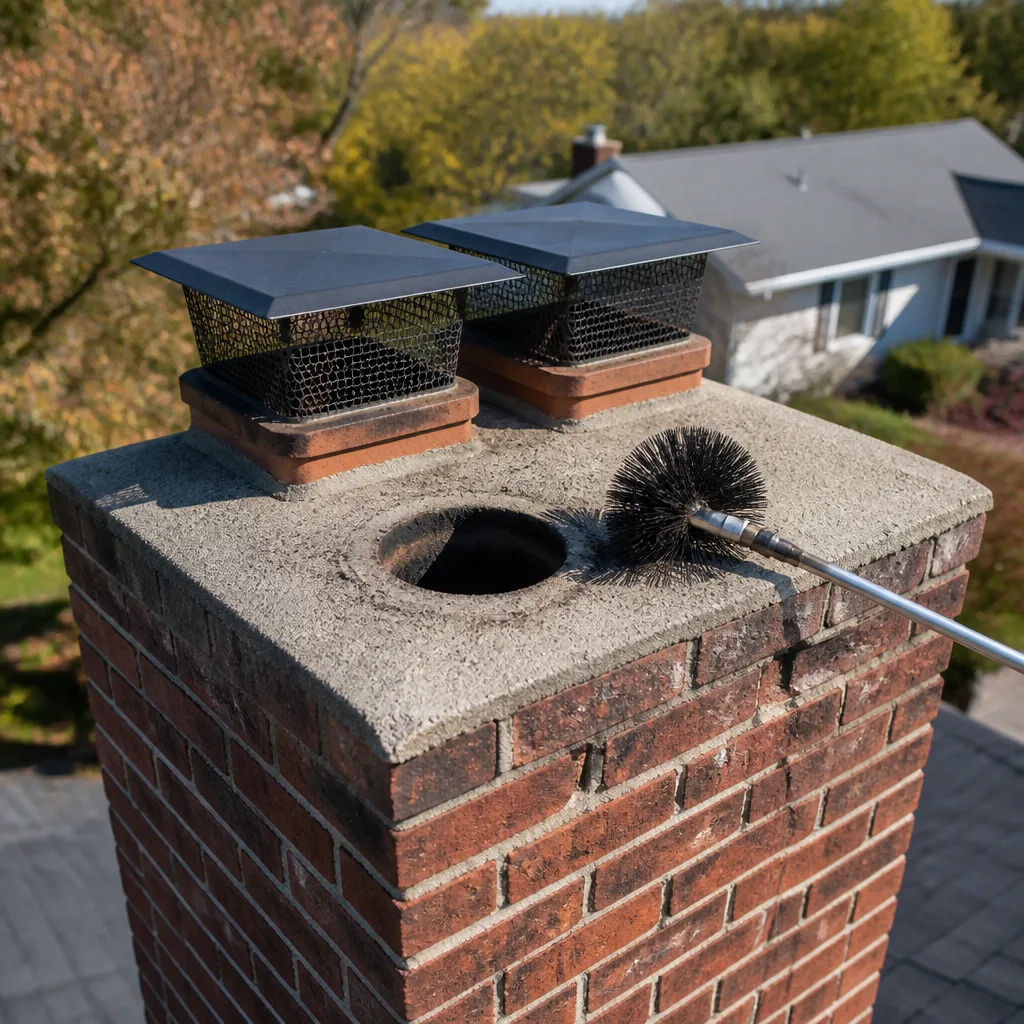
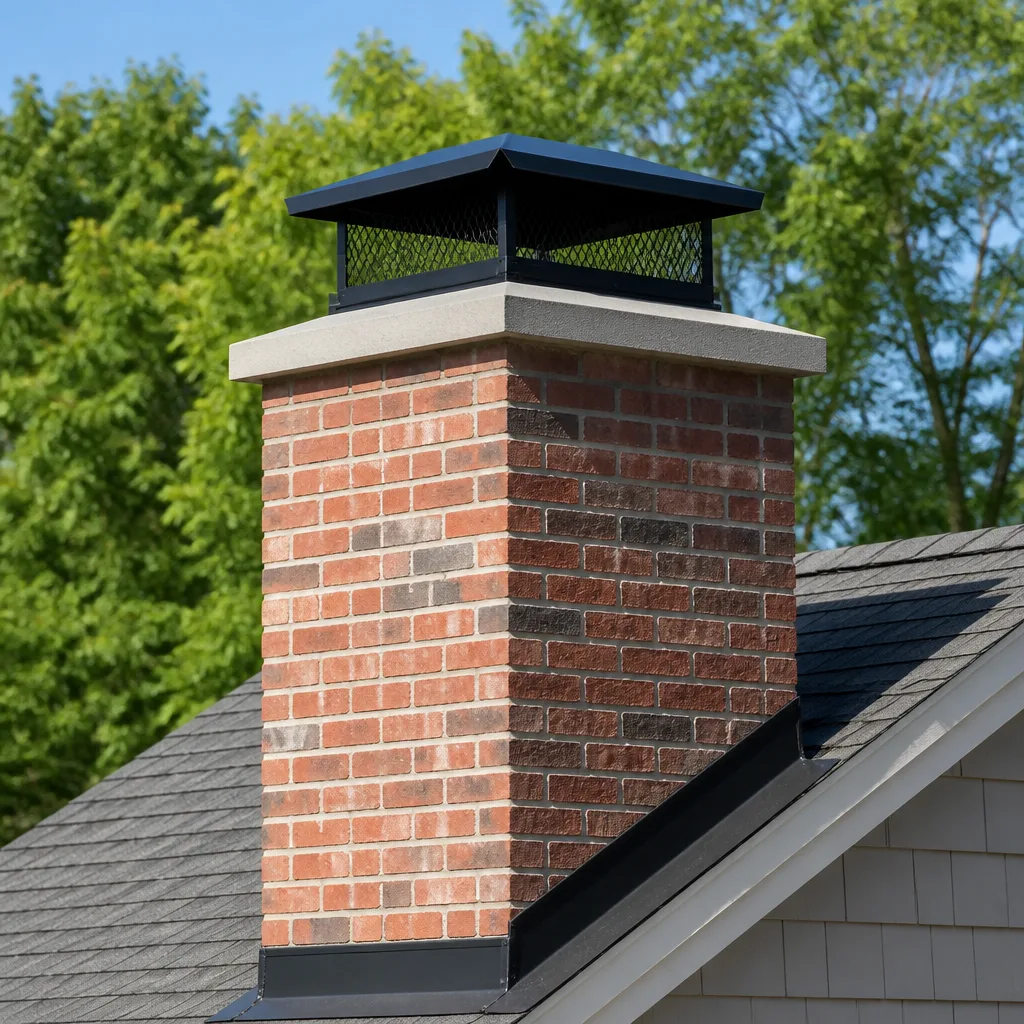
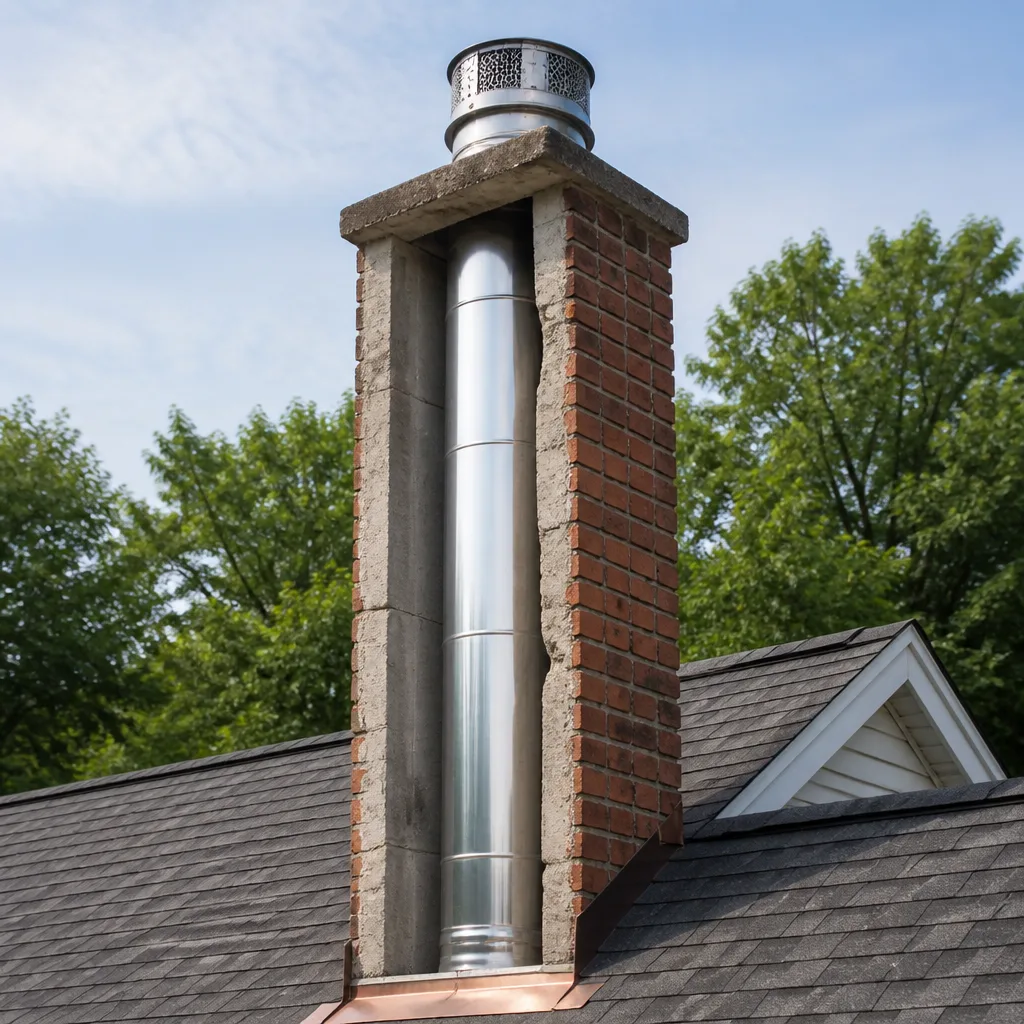
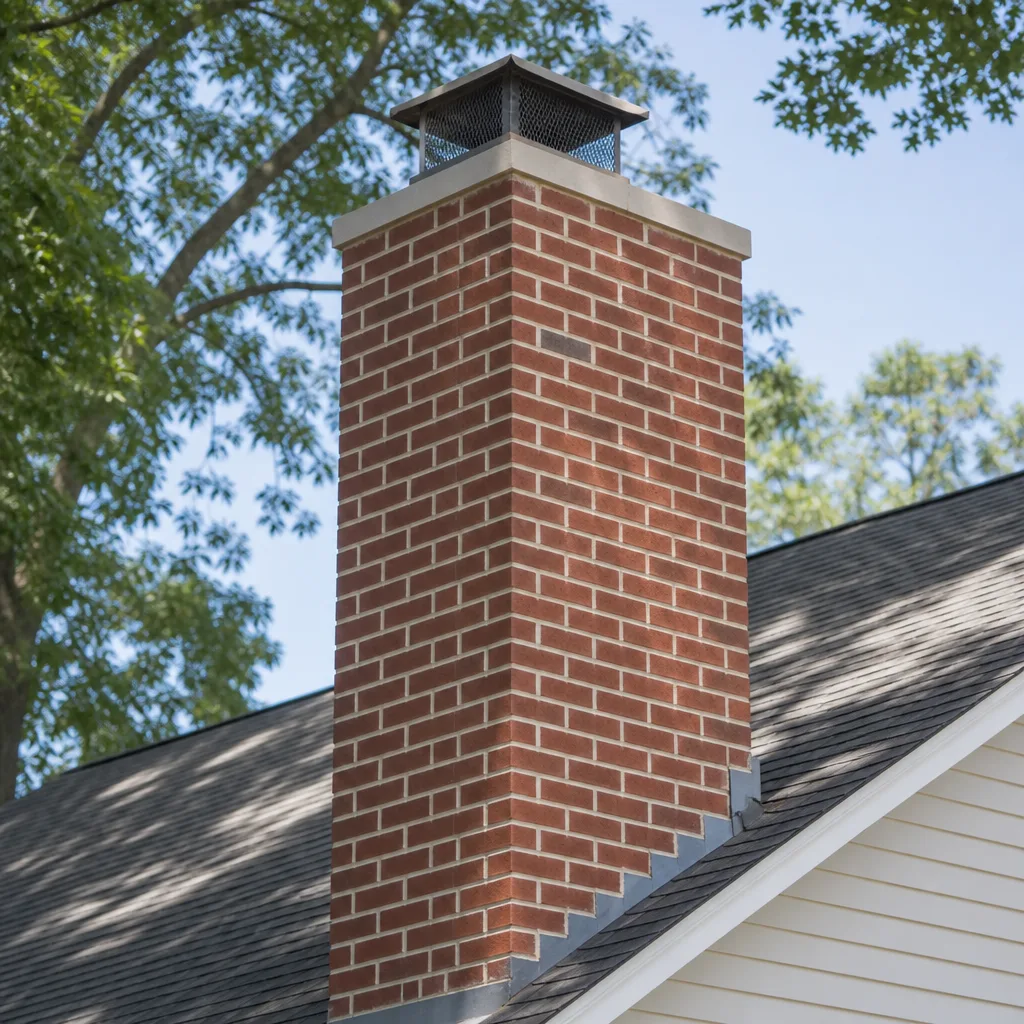
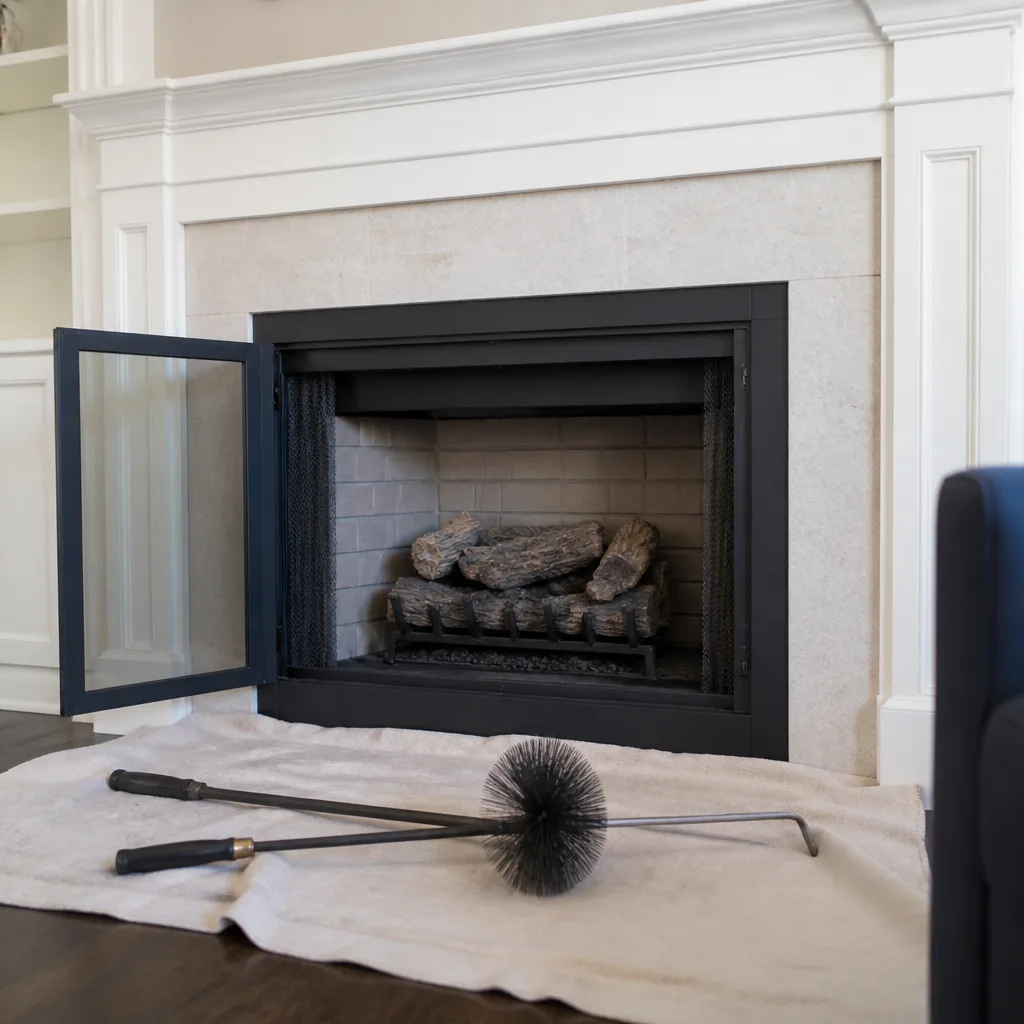
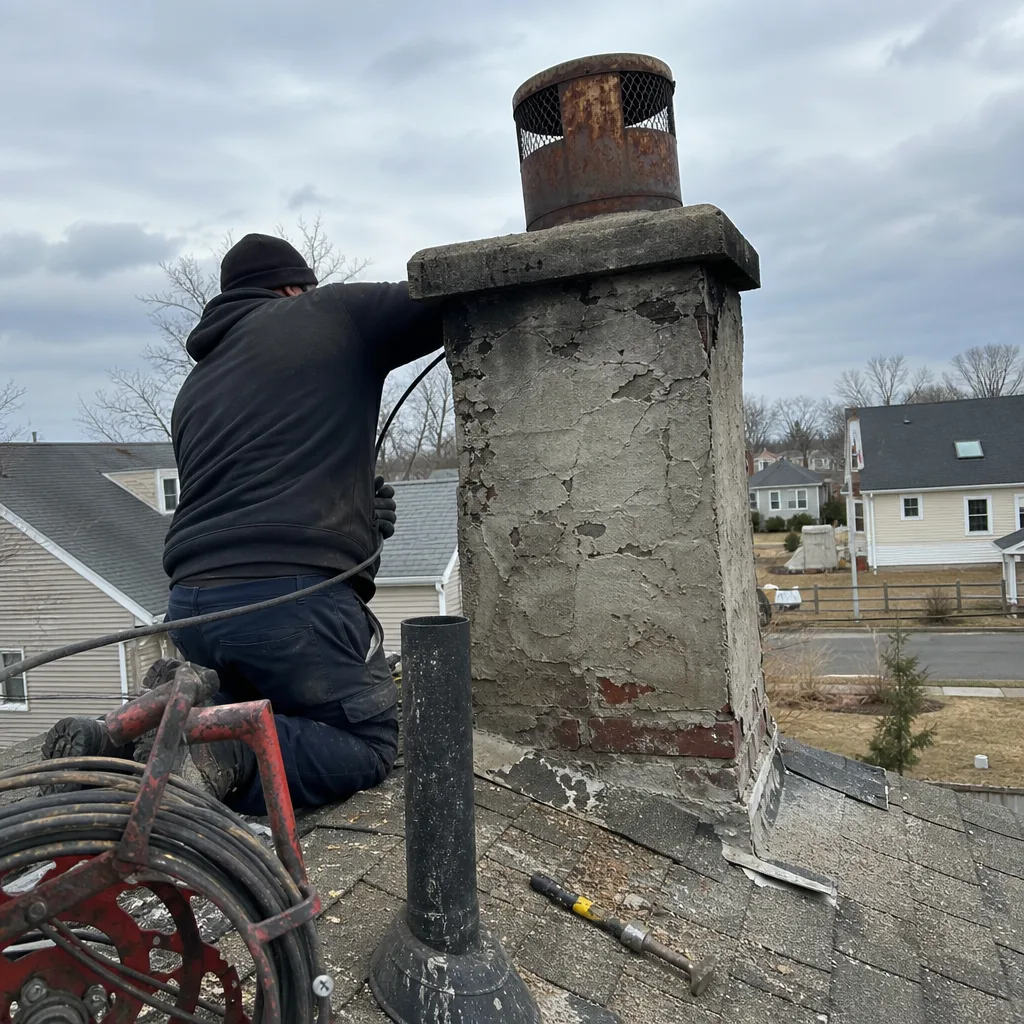 Before
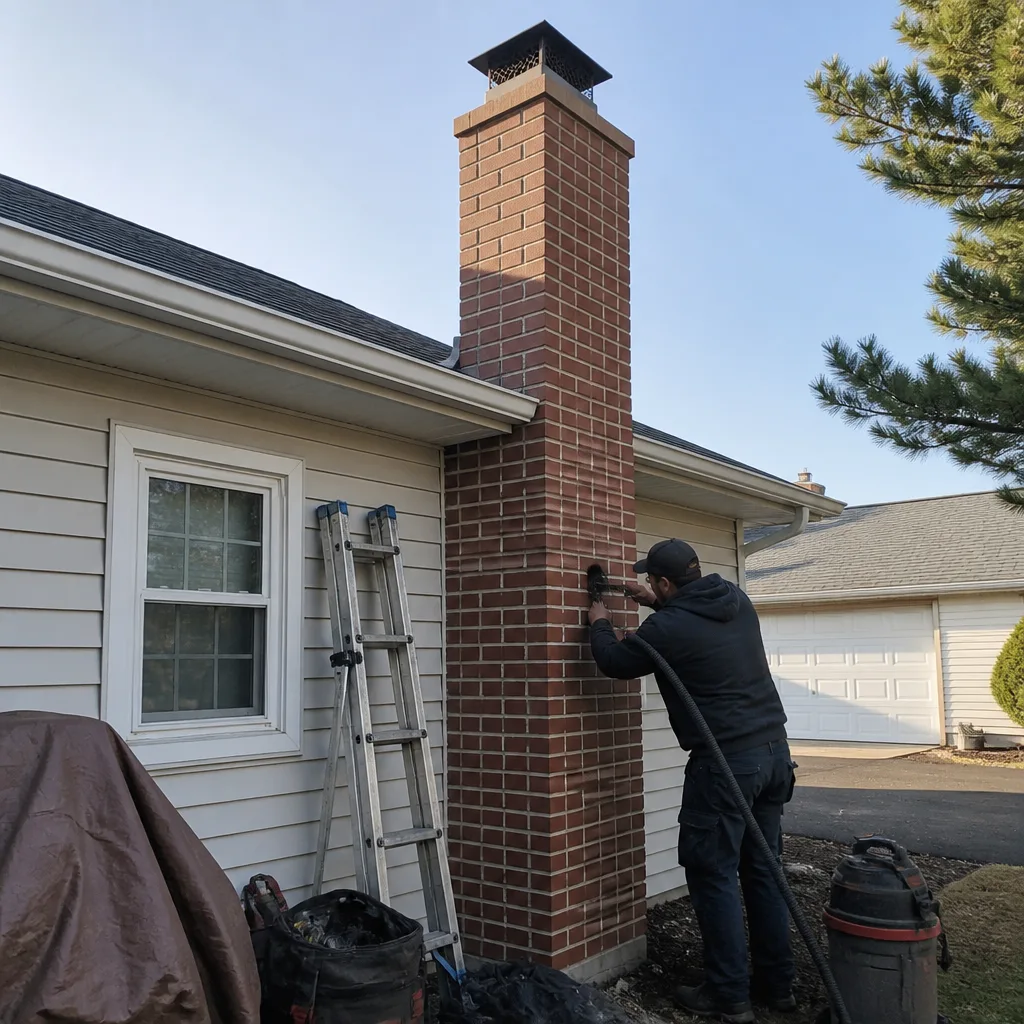 After
After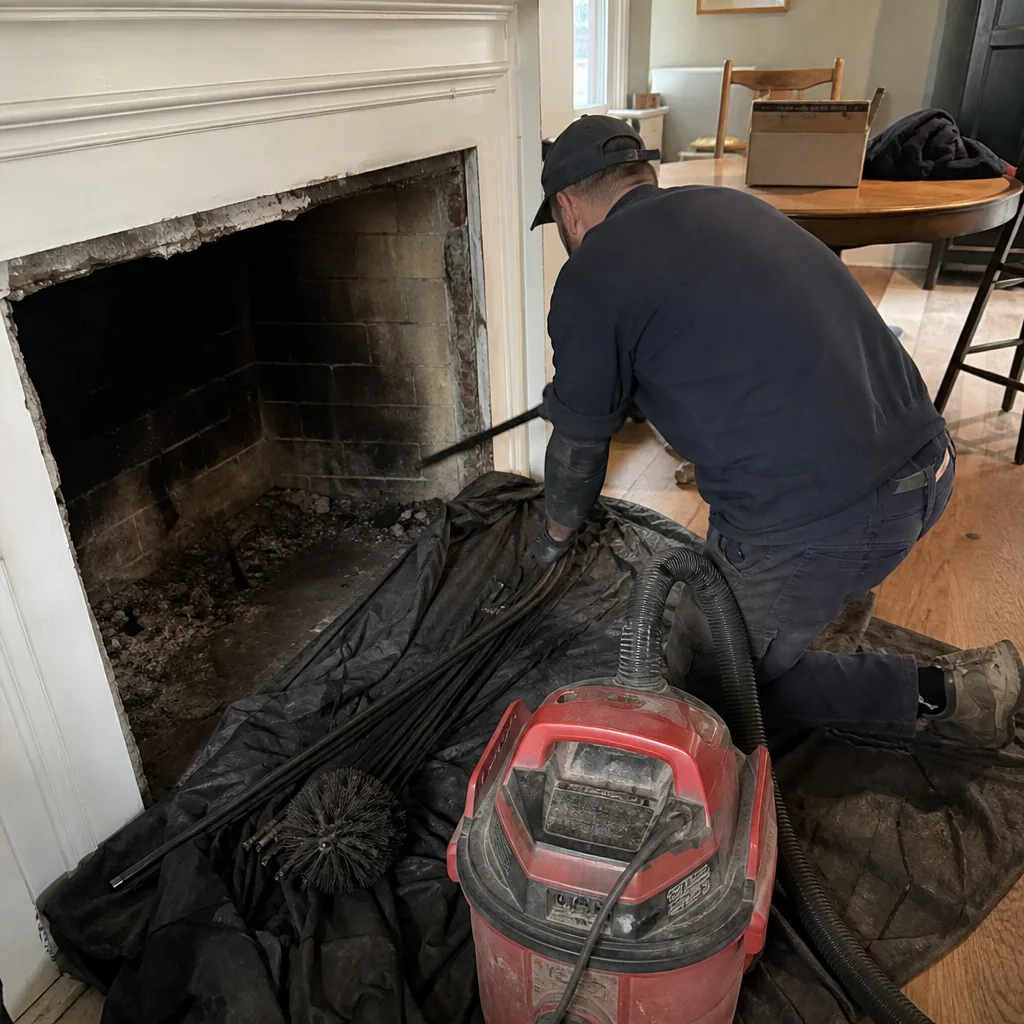 Before
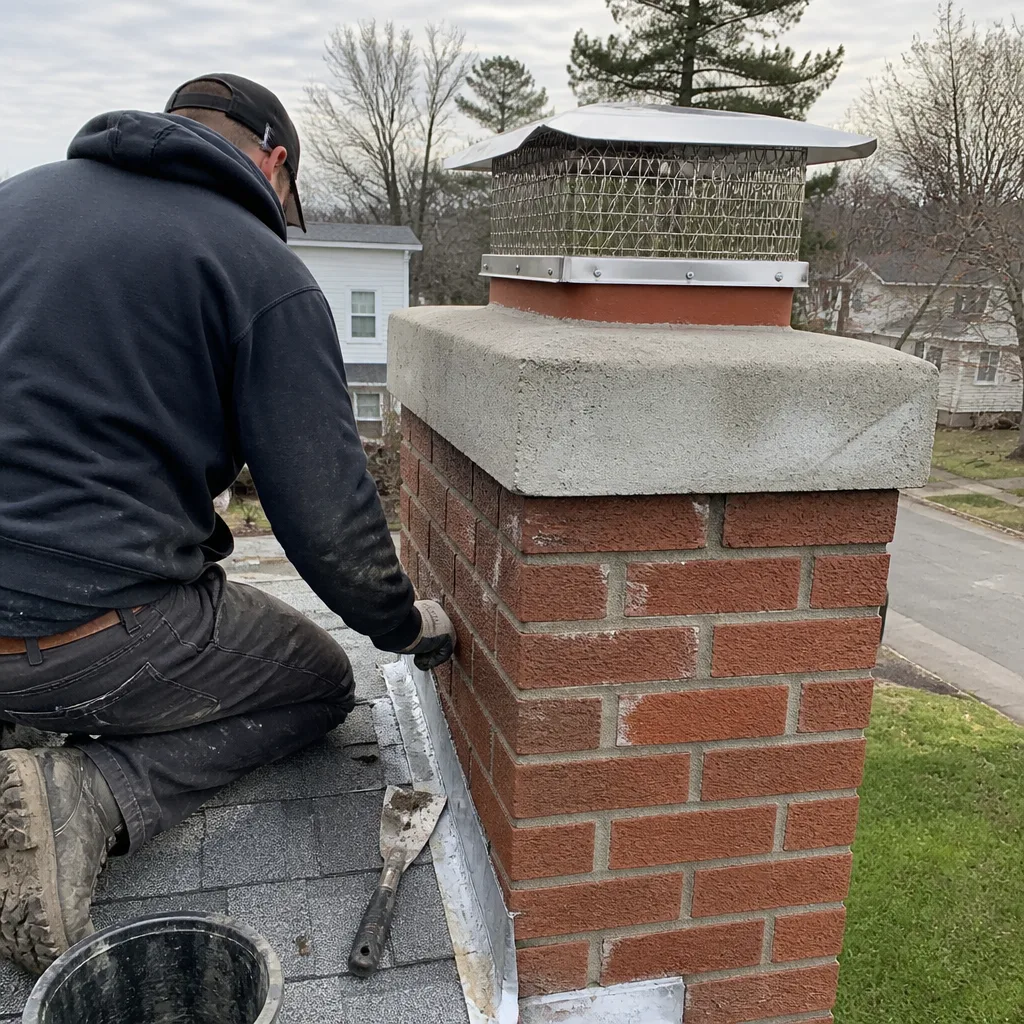 After
After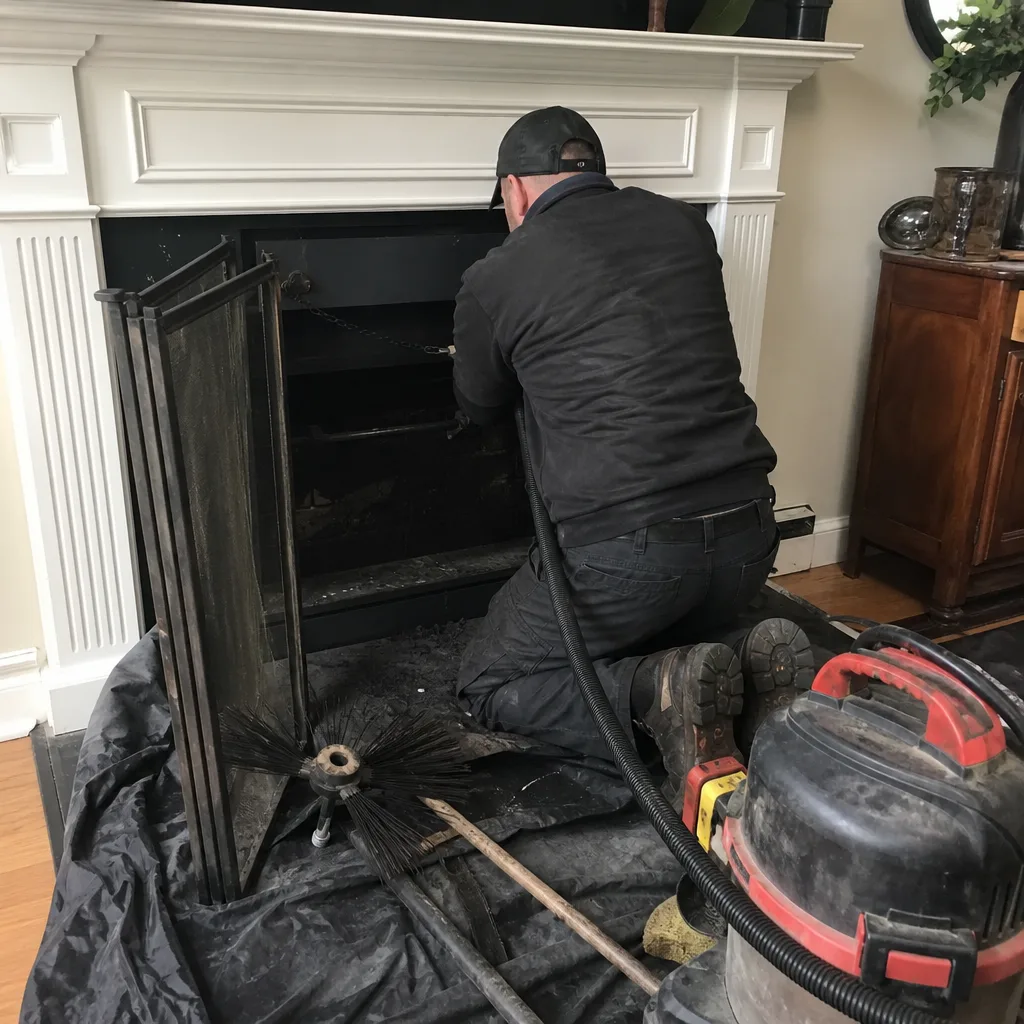 Before
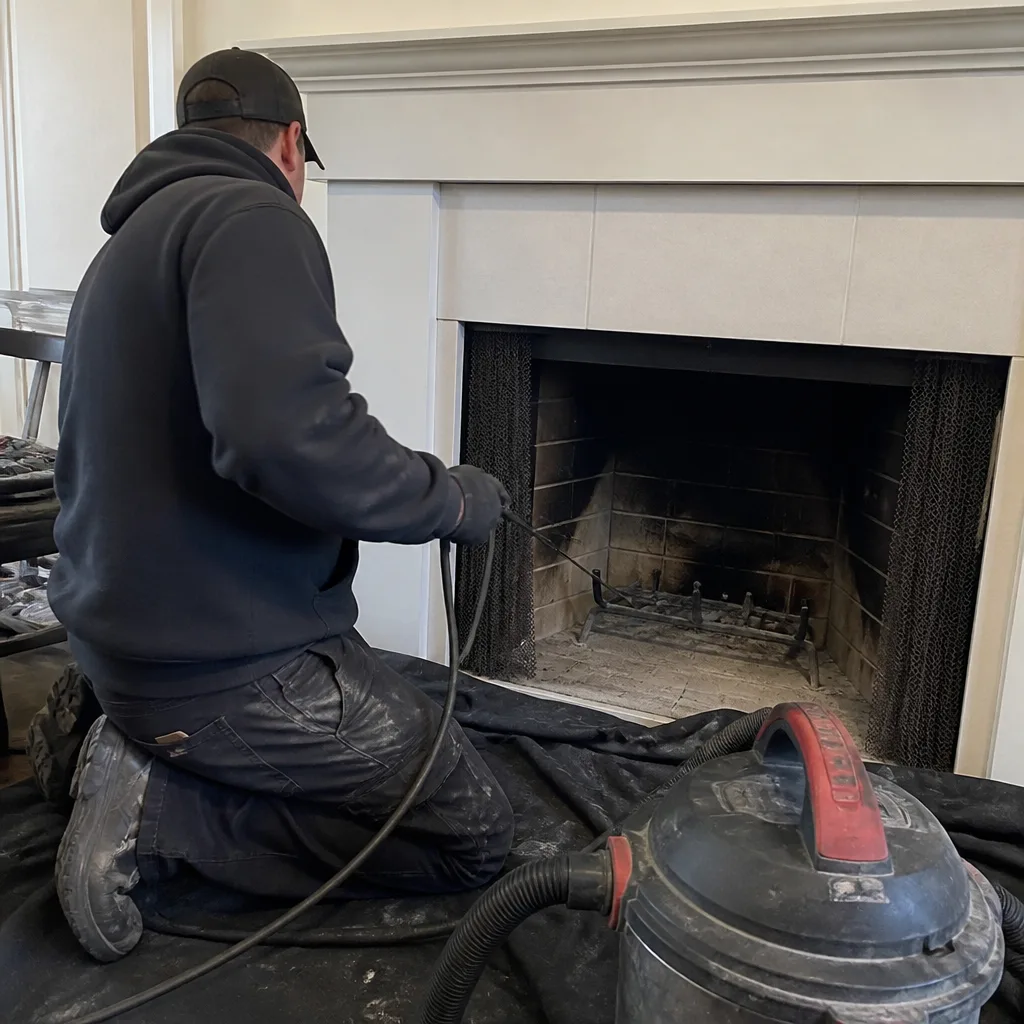 After
AfterGelco Chimney Cap Installation: The Long Beach Owner’s Guide
We stock and install Gelco-compatible chimney caps throughout Long Beach, and most homeowners pay between $340 and $680 installed, depending on the model and how the old cap is fastened. We carry a range of Gelco sizes on the truck, so a swap is usually done in one visit. Most owners discover they need this page right after a nor’easter, when they find half a Gelco cap rusted out by the lid, the mesh peeled back like a sardine can, or the cap sitting on the lawn after a blow off the Atlantic.
Top Hat Chimney is an independent, owner-operated outfit. We’re not affiliated with Gelco, but we’ve installed and serviced their caps long enough to know what holds up on a Long Beach rooftop and what doesn’t.
Key Takeaways
- Typical installed price in Long Beach: $340-$680 for the full swap, parts and labor.
- Gelco caps are solid, but the mounting area and stainless mesh fail first in salt-air exposure.
- We stock Gelco-compatible sizes in stainless and coated steel, so the whole job usually happens in one trip.
- Every install is backed by our 90-Day Done Right Promise, in writing.
Which Gelco Models This Applies To
Gelco makes two families of chimney cap most common on Long Beach homes: the vacuum-style draft-increasing caps and the standard single- or multi-flue models. The single-flue units are what we see on nine out of ten older homes off West Beech Street, Walnut, and the West End. They’re typically specified by flue liner size, not by a model number on the box. That’s the first gotcha: a cap listed as “8×8” refers to the outside flue tile measurement, not the inside opening, and a 13×13 Gelco won’t sit right on a 13×13 outside tile if the tile has curled or spalled edges. The second gotcha is the mounting style. Gelco caps use either a pressure-screw base that tightens against the flue tile or a bolt-down crown mount. If someone slaps a bolt-down cap on a flue with cracked tile, it’ll wobble inside of a year. We measure the flue and the crown before pulling anything off the truck.
On the OEM question: for standard single-flue caps, we’ve found quality stainless aftermarket units that match Gelco’s spec and often outlast the originals on ocean-facing blocks. For the vacuum-draft Gelco caps, we recommend staying close to original spec. The geometry matters, and a generic “draft” cap won’t move air the same way. We’ll say so plainly if an aftermarket part is the better call or if it’s worth paying for the Gelco name.
Signs Your Gelco Chimney Cap Installation Is Failing
- Rust bleeding down the flue tile or crown. Salt air eats the lower-cost coated steel Gelco caps fast. The zinc coating sacrifices itself, then the steel underneath starts streaking orange. By the time you see the streak, the cap body is usually paper-thin.
- Mesh pulled out or sagging. The stainless mesh on a Gelco keeps embers in and animals out. When the mesh separates from the frame, it’s not a cosmetic issue. You’ve lost spark protection, and a raccoon in Long Beach has found its new front door.
- Cap shifted or leaning after a storm. The screws that hold the base against the flue tile are the wear point. Wind-driven rain works them loose over three or four winters. A leaning cap is an open seam for water to pour straight down the flue.
- Water in the firebox after heavy rain. A cap that looks fine from the ground can have a failed top seam. Water follows the weld line down. You’ll see a puddle in the firebox or dampness along the back wall of the chimney.
- Draft problems that weren’t there last winter. A Gelco vacuum cap that’s lost its airflow will make the fireplace sluggish: smoke rolls back into the room, fires smolder instead of catch. The issue is usually crud built up inside the cap’s base, not the flue itself.
If it doesn’t need doing, I’ll tell you that too. But a cap that’s left to fail turns a $400 swap into a $2,000 crown rebuild inside four winters.
Replacement Cost & What’s Included
| Work | Typical Installed Price, Long Beach |
|---|---|
| Standard Gelco-compatible single-flue cap, coated steel | $340-$440 |
| Stainless steel single-flue cap | $460-$585 |
| Gelco vacuum-draft cap | $510-$680 |
| Multi-flue or custom crown-mounted install | Quote after measurement |
Every one of those numbers includes the cap, the fasteners, the removal of the old unit, and the labor to set it level and weather-tight. No add-ons at the door, no “we found something in the flue” surprise. The number Wendell gives you on the phone is the number on the invoice. If there’s a legitimate chimney issue behind the cap, we’ll show it to you on camera before we talk about any additional work. That’s our standing rule, and it’s been the rule since 1999.
Every Gelco installation we do is covered by the 90-Day Done Right Promise. If the cap shifts, loosens, or leaks in those first three months, one call brings the crew back at no charge. That promise is in writing on every job, and it’s been the same promise since the day Top Hat Chimney was founded.
DIY or Call Us?
You can safely do a visual check from the ground: look for rust streaks, a leaning cap, or mesh that’s pulled away. That’s worth doing after any big storm. But an actual cap swap on a Long Beach roof is roof work: ladders on a windy bay-side house, footing on a sloped pitch, and a flue that’s probably been weather-beaten since the fire department was still running a 1987 pumper out of Station 1. If you’re comfortable on a roof and you have the exact measurements dialed, a basic single-flue cap is a doable afternoon. The thing we see go wrong is the measurement. The thing we see go expensive is the fall. If you’re not sure, call us at (631) 378-3317 and we’ll measure it right the first time. No trip charge inside the county.
FAQs
A stainless Gelco cap on a house a few blocks from the water will normally hold up 8 to 12 years before the mesh or mounting hardware gives out. Coated steel versions last 4 to 7 years in the salt air. Homes further inland can stretch those numbers, but the wind-driven rain off Reynolds Channel speeds everything up.
Most of the time a damaged cap needs to be replaced. The mesh and the lid welds are not realistically field-repairable. If the only issue is loose mounting screws, we can often tighten and reseal the base and buy you another couple of seasons. We’ll tell you which one you’re looking at after the camera goes up the flue, not before.
For a standard single-flue Gelco replacement, we’re usually up and down inside of an hour. The work is measuring the flue, removing the old cap, cleaning the mounting surface, setting the new cap, and tightening it true. Two-story homes or ocean-facing roofs take a little longer. You don’t need to be home for it, though we’re happy to walk you through what we found.
We keep the most common Gelco-compatible single-flue sizes on the truck, in both coated steel and stainless. For the vacuum-draft models or unusual flue sizes, we order the part and schedule the install the same week. We also stock parts for DuraFlex and HeatShield systems alongside our Gelco inventory. Call (631) 378-3317 with your flue measurement and we’ll tell you exactly what we’re bringing before we leave the shop.
Written by Wendell Pike, Owner, Top Hat Chimney at Top Hat Chimney, serving Long Beach and nearby areas.